Getting Your UV Curing Right
Most people think UV lamps just dry the ink. They don’t. They actually trigger a chemical reaction that locks the pigment into the fabric. When you get the wavelengths just right, the ink stays put—no bleeding, no peeling, nothing. But if your timing is off? You’re left with fabric that feels tacky to the touch, or worse, scorched holes in your material.
The Balancing Act
It’s all about the power. Sure, cranking up the wattage lets you run the line faster, but it also creates a ton of heat. Here’s the trick: you have to balance that power with your conveyor speed. If you blast a thin polyester blend with too many watts, you’ll melt the fibers before the ink even has a chance to cure. I usually recommend a staged approach. Start with low intensity to set the ink, then hit it with a high-intensity burst to lock everything in. It just works better.
The Gear
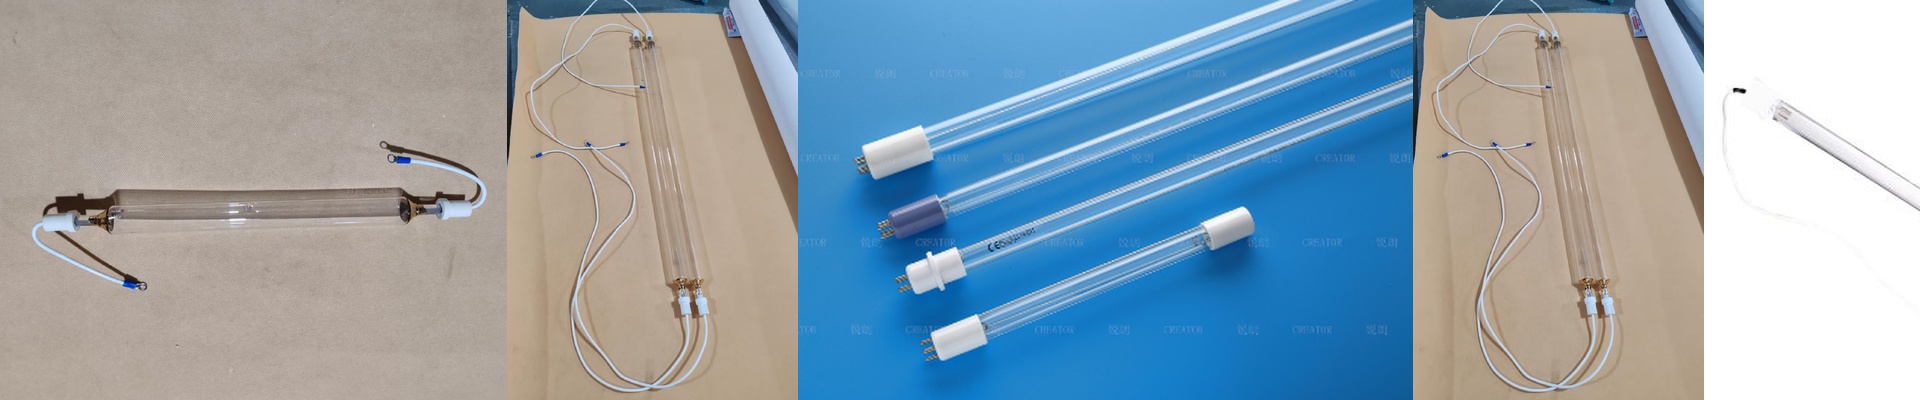
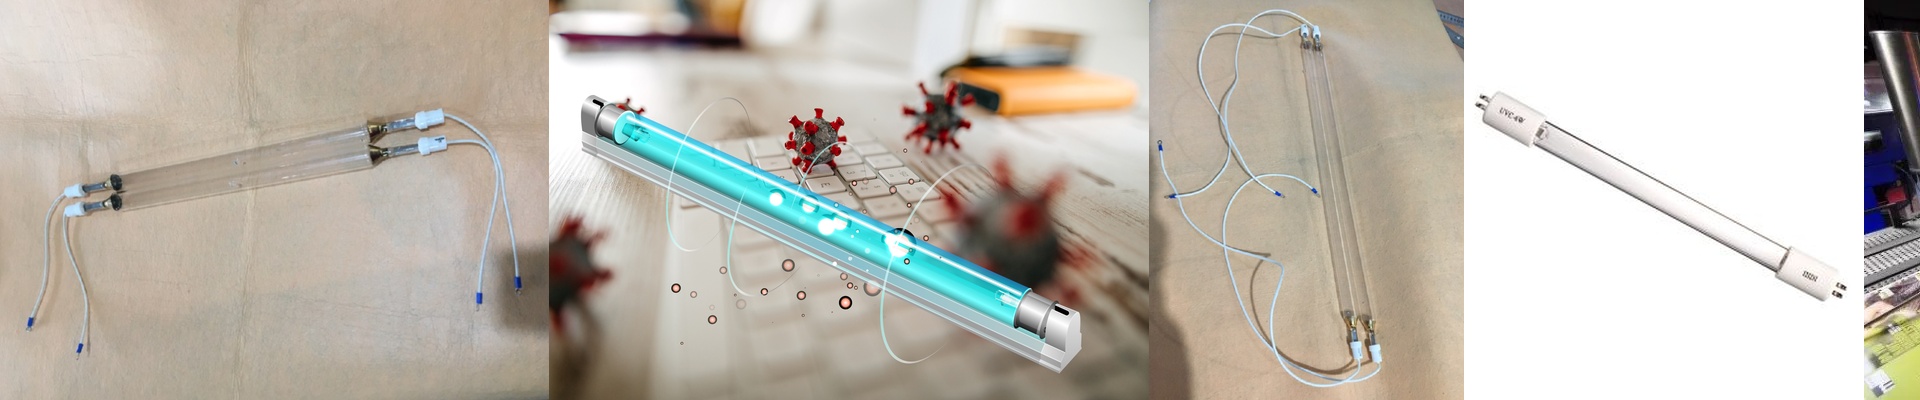
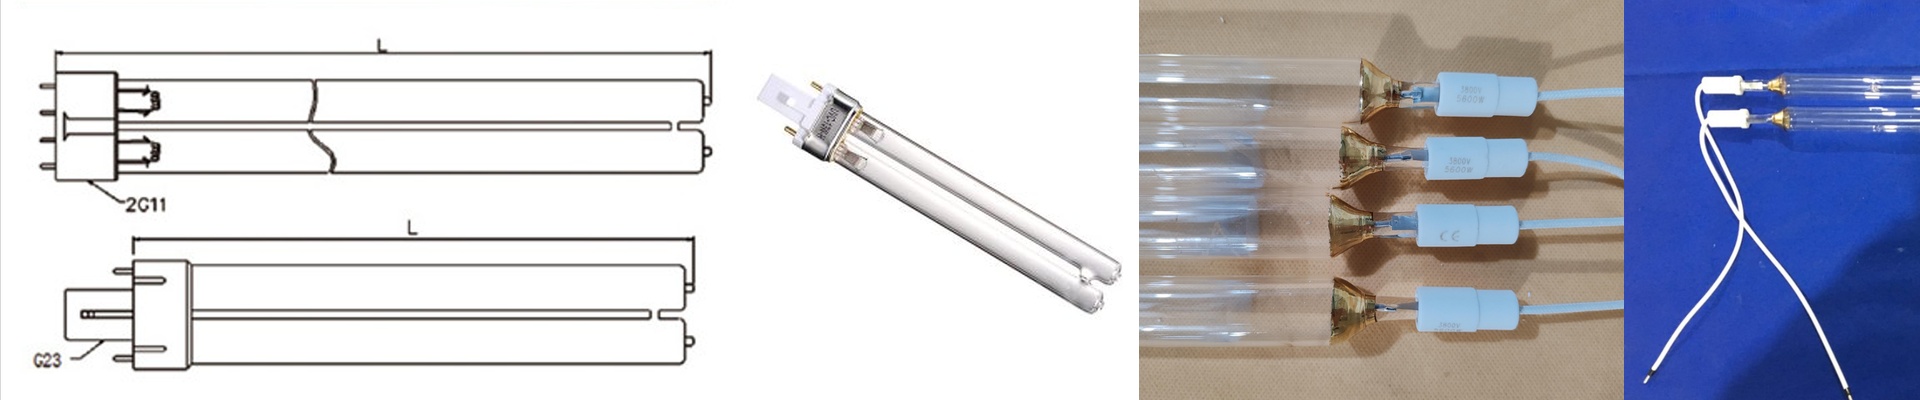
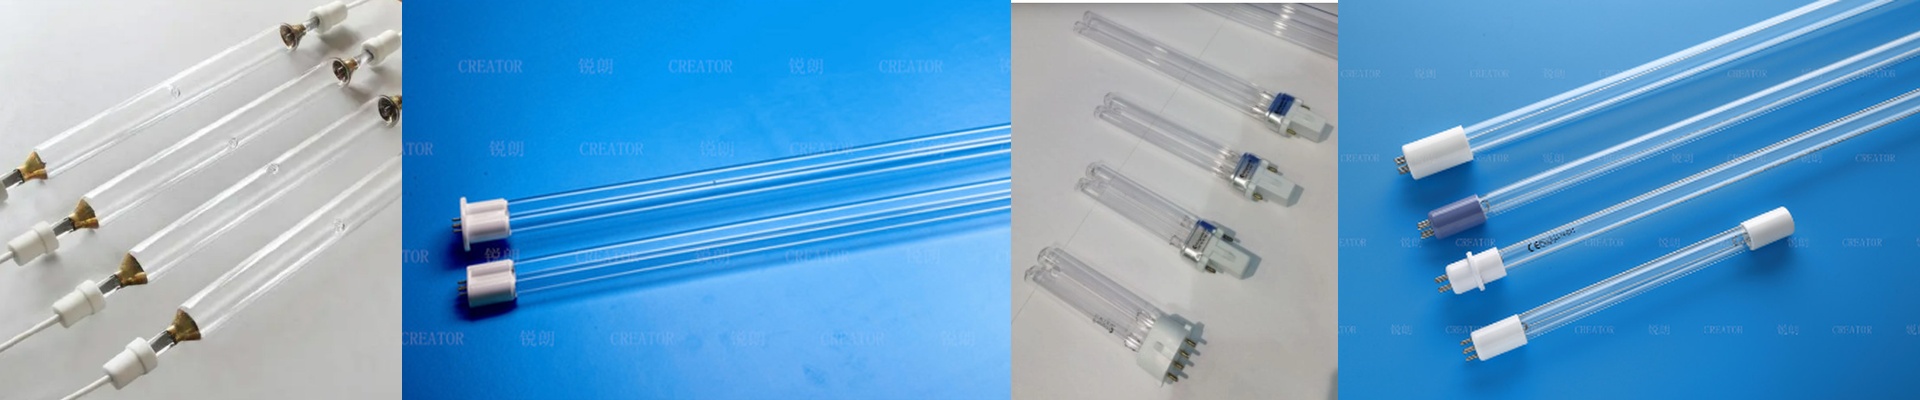
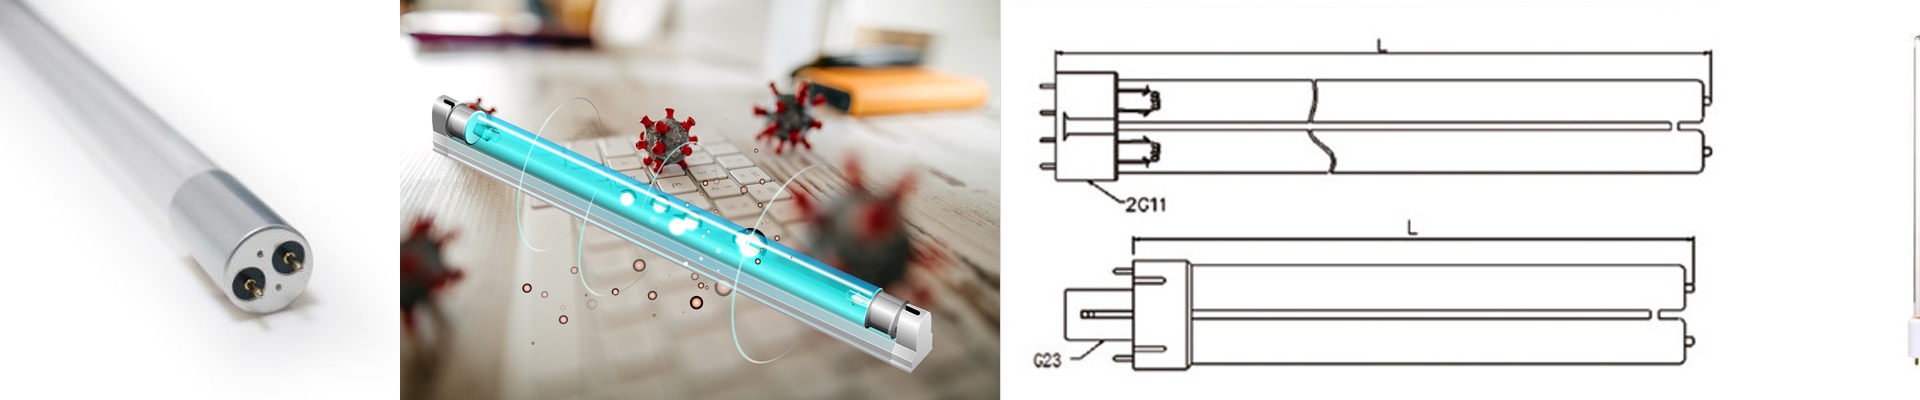
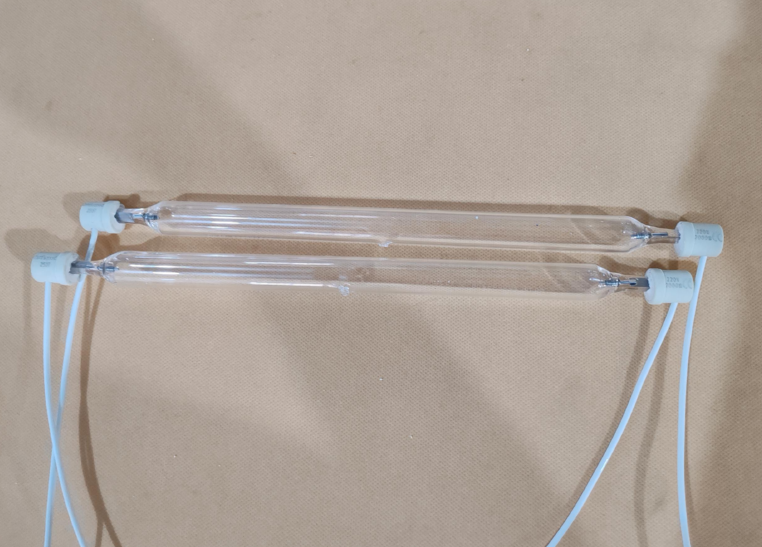
We use quartz glass for our industrial setups because regular glass blocks the shortwave radiation we actually need. And because no one wants to spend their afternoon rewiring a ballast, we use standardized connectors. If a tube burns out, you just pop it out and drop in a new one. It takes minutes.
The Trade-offs (and the Gotchas)
Here is the reality: if you push your lamps harder, they won’t last as long. You can run them at 110% to hit a tight deadline, but you’re basically killing the electrodes. And keep in mind, a lamp can still glow a bright blue even after 1,000 hours, but the actual UV output might have tanked. **Don’t trust your eyes.**Use a radiometer to see what’s actually happening. A few other things to watch for: If your cooling fans quit, the quartz glass can crack from the thermal shock. Also, keep your reflectors clean. It sounds minor, but a thin layer of dust can kill your efficiency by 20%. Not a great way to waste money.