Getting Your UV Curing Right
Look, UV lamps aren’t just light bulbs. They’re the engine of your whole curing process. If you’re sourcing these from China, it’s easy to get lured in by a low price tag, but here’s the catch: the difference between a cheap tube and a professional one is all in the spectral output and how steady that arc stays.
The struggle with curing speed
It all comes down to irradiance—basically, how much UV energy is actually hitting your material. We build our lamps to hit very specific wattage benchmarks because we’ve seen what happens when you don’t. If you try to run a low-wattage tube on a fast conveyor, you’ll end up with “under-cure.” It’s a nightmare. The surface feels dry to the touch, but the bottom layer is still a gooey mess. To stop that from happening, we dial in the voltage and wattage so the arc stays rock-solid, even when you’re pushing the system hard.
Quartz and the heat problem
We use high-purity fused quartz for the envelopes. Period. Standard glass is a no-go because it blocks the UV-C and UV-B rays, which basically makes the lamp a fancy paperweight. Quartz lets those shortwave rays pass through, which is the only way to get a deep, thorough cure. But you’ve got to keep an eye on the heat. These high-output lamps put off a massive amount of infrared energy. If your fans or water-jackets can’t handle the load, that quartz tube is going to stress and eventually crack. I always tell people to leave about a 10% buffer in their cooling capacity. It’s a small tweak that saves you from a premature burnout.
Making it fit
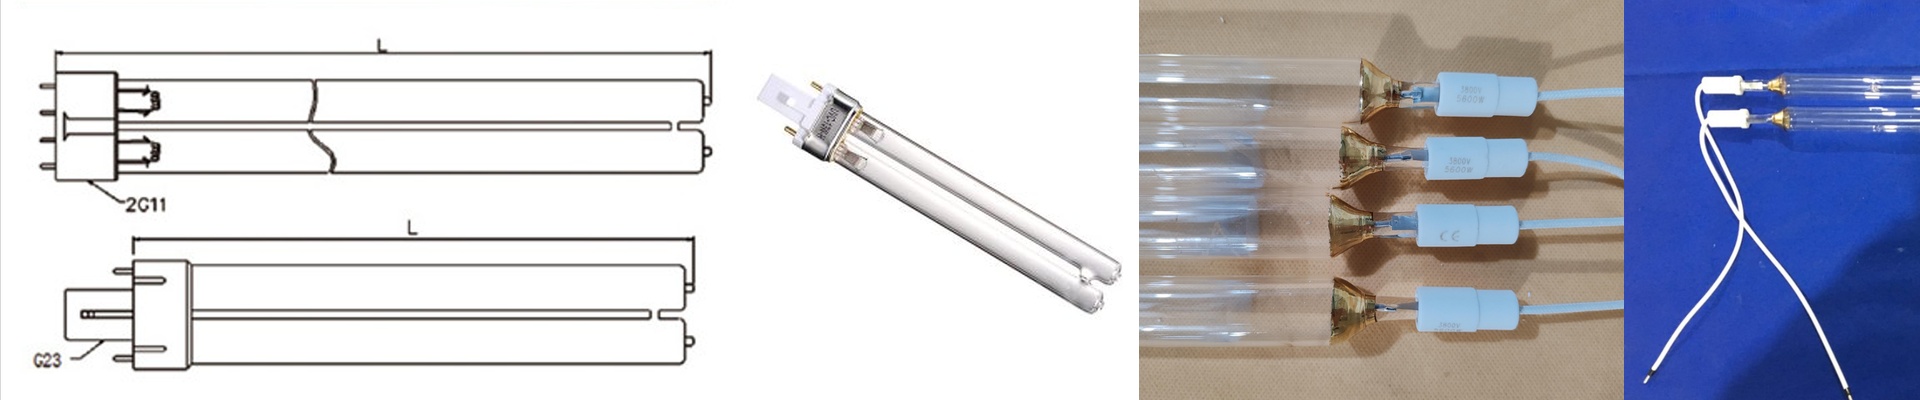
We design these to be drop-in replacements for the big global brands. Whether you’re using R7s or specific pin-bases, we keep the tolerances tight. Why? Because a loose fit in the socket creates resistance. That leads to arcing, and before you know it, you’ve got melted connectors and a dead line. We position the electrodes down to the millimeter. You just wire it up, hit the switch, and get back to work without having to mess around with your reflectors.