Getting Your UV Curing Right in Textile Printing
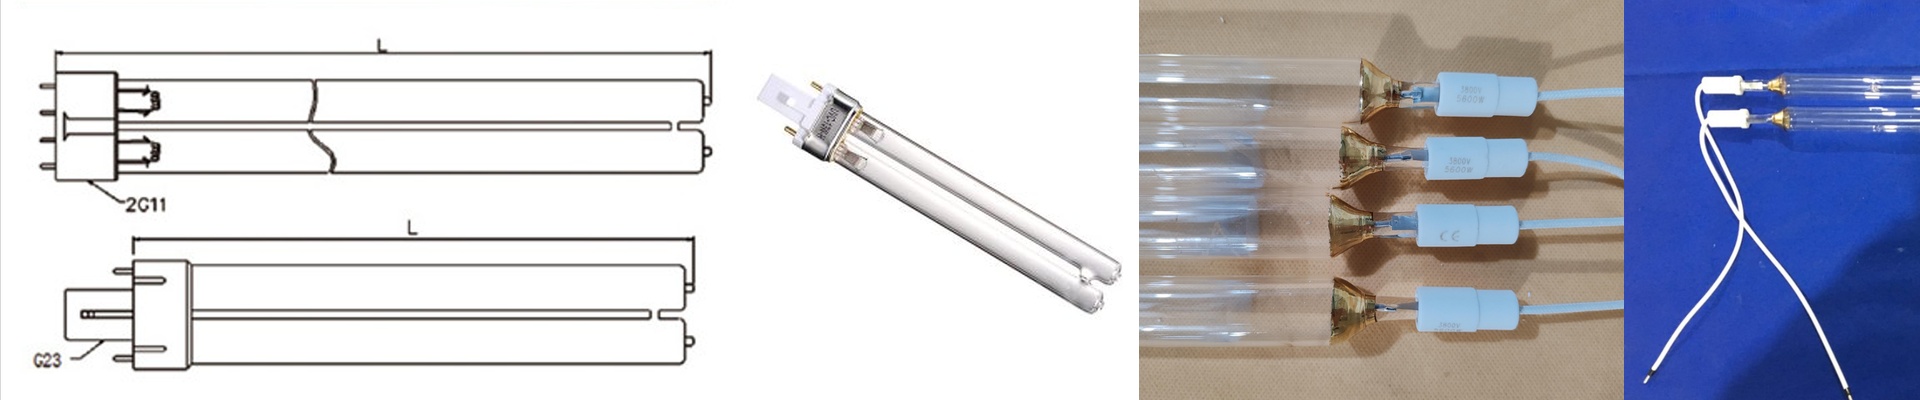
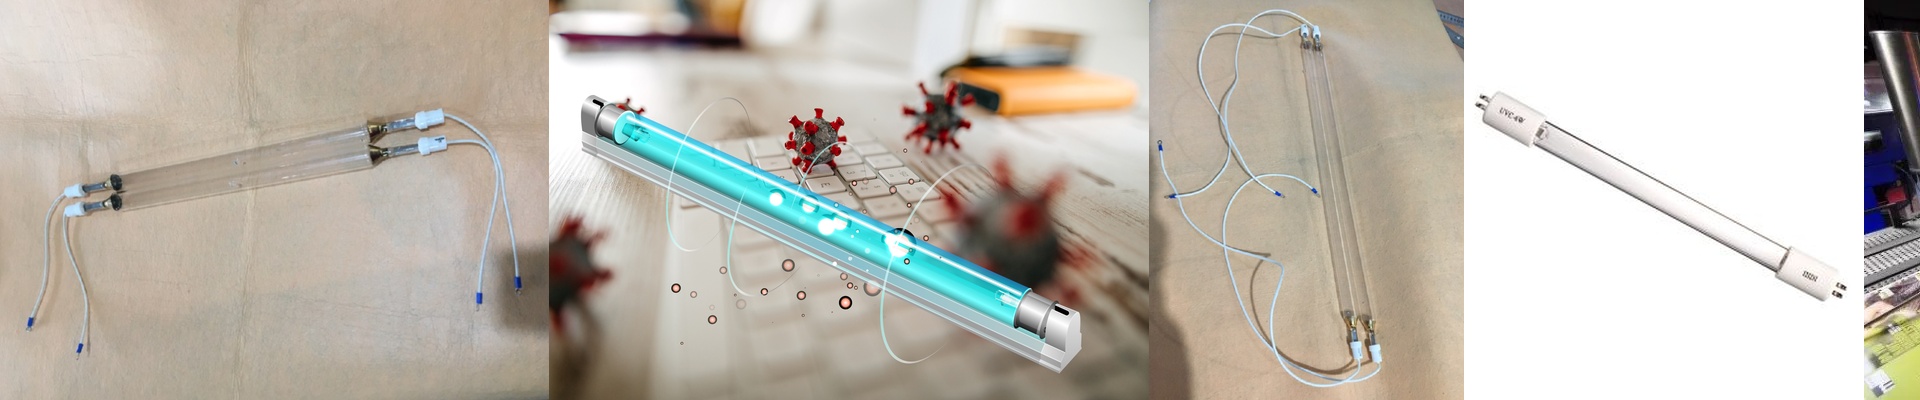
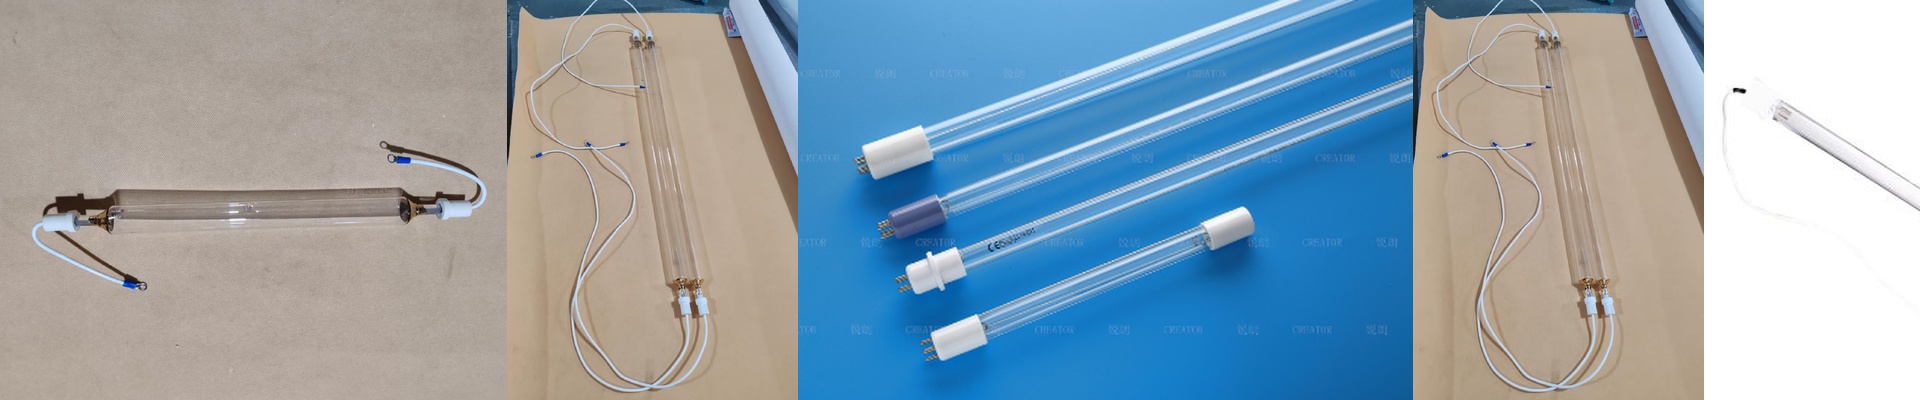
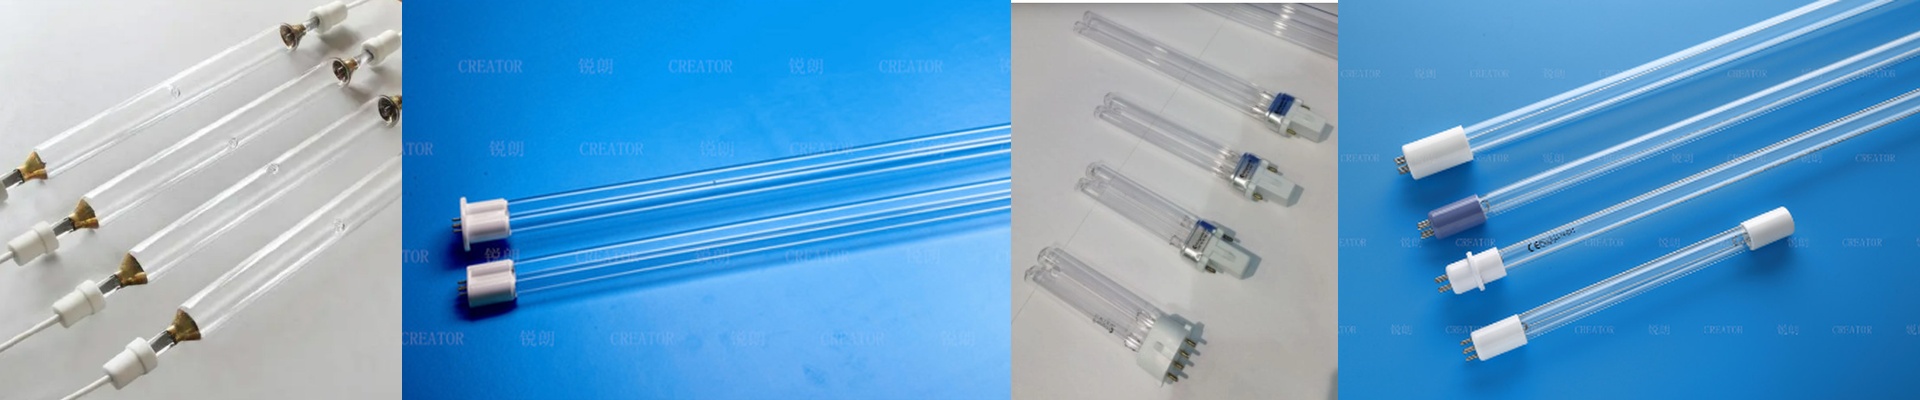
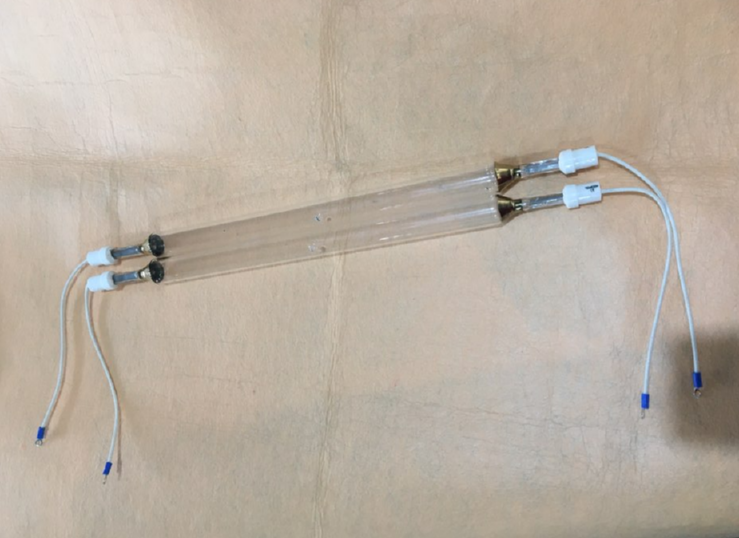
When you’re swapping out UV lamps in a textile setup, it’s easy to think of it as just “changing a lightbulb.” But it’s more than that. You’re actually managing a chemical reaction. You need enough energy to lock that ink onto the fabric, but not so much that you start scorching the material. It’s a delicate balance. Getting the power right Wattage and wavelength are what drive your speed. If you’re running a high-speed line, you need a lot of radiant flux to make sure the ink sets before the fabric hits the next roller. Here’s the thing: voltage is picky. Even a tiny slip-up can leave you with a mess—some spots will stay tacky while others get over-baked. Plus, you’ve got to make sure the lamp’s electrical footprint matches your ballast perfectly. If they don’t play nice, you’ll burn through the filament way too fast. The gear matters We use high-purity quartz glass for a reason. Regular glass just blocks the wavelengths you need to get the ink to polymerize. We also make these as drop-in replacements because nobody wants their line down for hours. We obsess over the connector fit—whether it’s a pin-style or a twist-lock. A loose connection isn’t just annoying; it creates arc points. Those arcs build up heat, and before you know it, your socket is fried. The real-world struggle In the actual shop, the biggest headache is the gap between the lamp and the fabric. If you move the lamp closer, the intensity jumps, but you risk melting your synthetic fibers. It’s a constant tug-of-war between UV intensity and line speed. And if you crank up the wattage to push out more product, your cooling fans have to keep up. If the housing gets too hot, your quartz tube’s life drops off a cliff. One quick tip: give your reflectors a good clean every 500 hours. It keeps everything running at peak efficiency without the guesswork.